Winter Boat Projects to Keep Your Mind on the Water
December 17th, 2025 by team
by B.J. Porter (Contributing Editor)
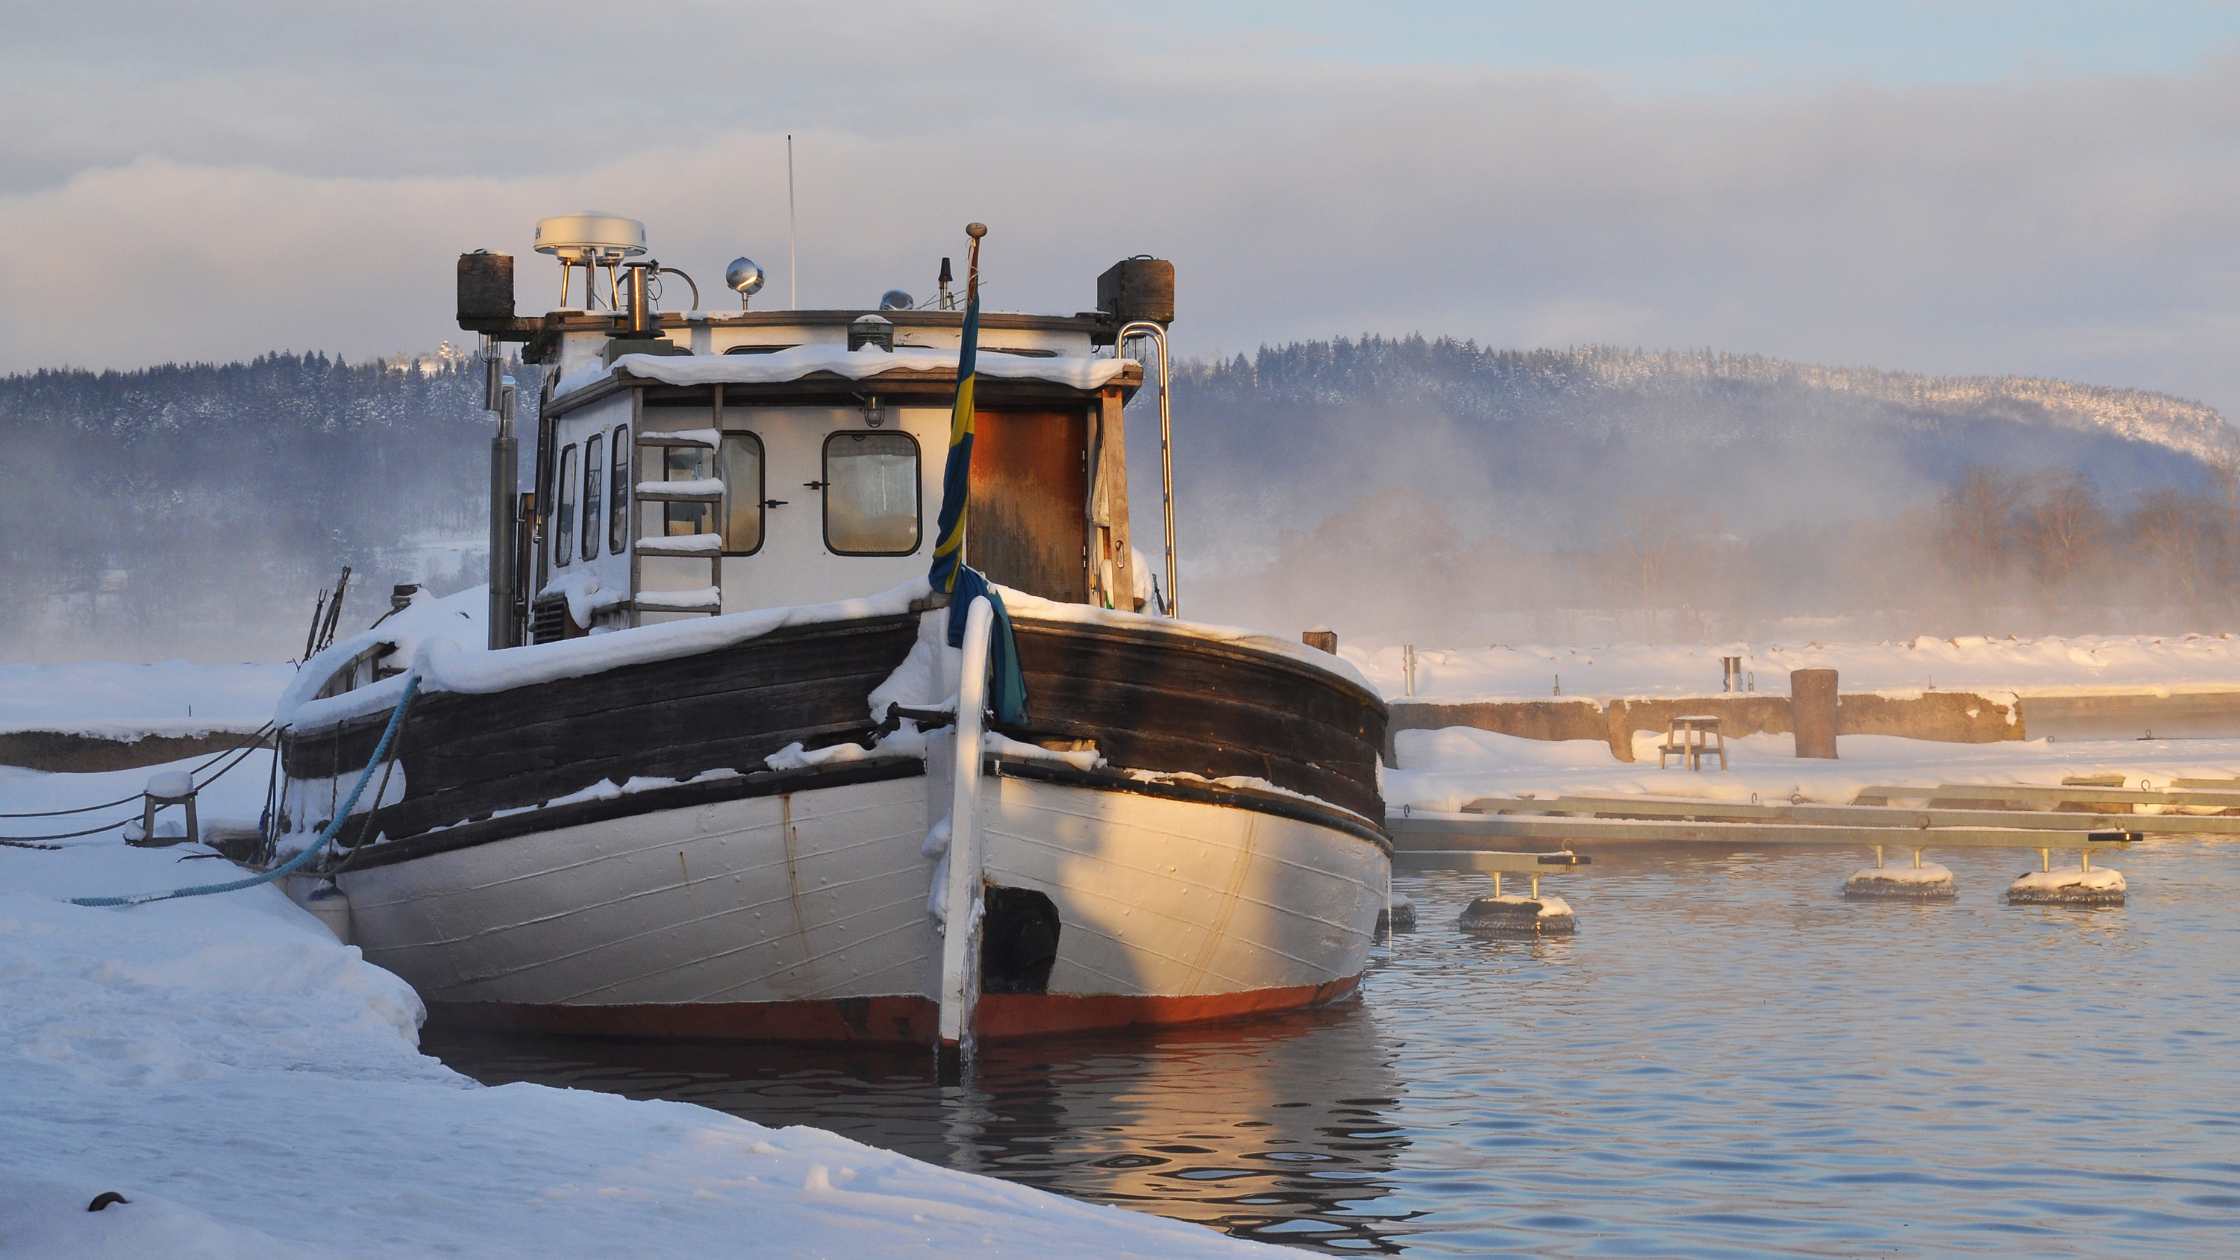
If you live in the land where frozen water now falls from the sky, hopefully your boat is safely tucked away, winterized, and covered until spring.
If it isn’t…get to work before something freezes and breaks!
But if it is all set for the winter, that doesn’t mean your work is done. There are quite a few things you can do in the off season to keep your mind on your boat and the water and to give you a jump on the spring. Here are a few ideas.
Varnish and refinish
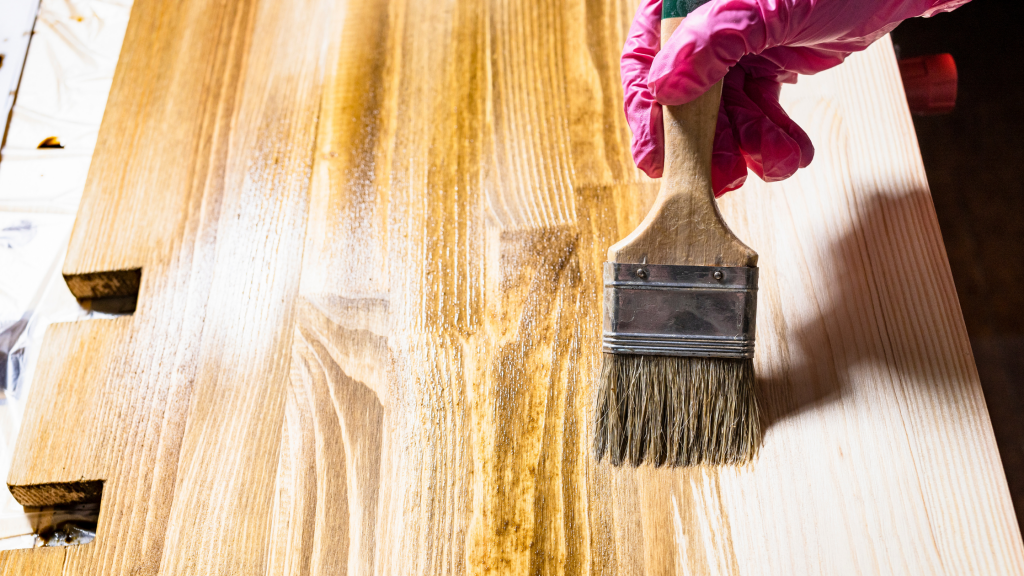
Varnishing in cold weather can be problematic. Cold weather thickens varnish to the point of uselessness, and cold slows drying time. Slow drying times mean more chances for dust, dirt, and other impurities to land on wet and sticky varnish, ruining your work.
But what if you can remove something from the boat to bring home and work on? Cockpit tables are a good example of an off-season project with a good payoff. Disassemble it and take it home. Then you can get all the coats of varnish or finish you want on the table when the boat is on the hard. All you need is a warm place to work.
You can do some varnish on brightwork still on the boat, and there is even an advantage if the boat is covered because rain won’t disturb you. But you need some extra care to work with room temperature varnish. Maybe use an electric or propane space heater under the cover to keep the work area warm, but you won’t want that blowing directly where you work.
Polish
The same thing applies to polished metal – if you can unscrew it and take it home with you, then bring it home and put that high shine on it before the new season. Cleaning up bells, clocks, barometers, and other brass instruments makes them look brilliant.
Polishing is a good activity to do on a winter evening, but take care not to do it too near a fireplace. Many metal polishes and cleaners use solvents, which may be flammable!
It may also be a better late winter project, because freshly polished metal may lose some of its shine if you let it sit for a few months waiting for spring, unless you can store it tightly wrapped in plastic and kept airtight.
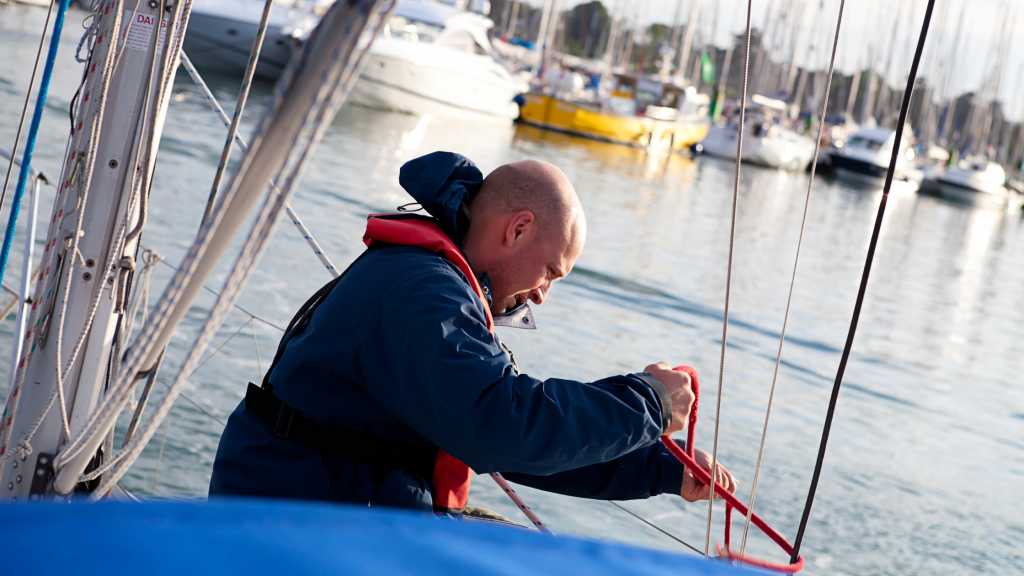
Do the (rigging) laundry
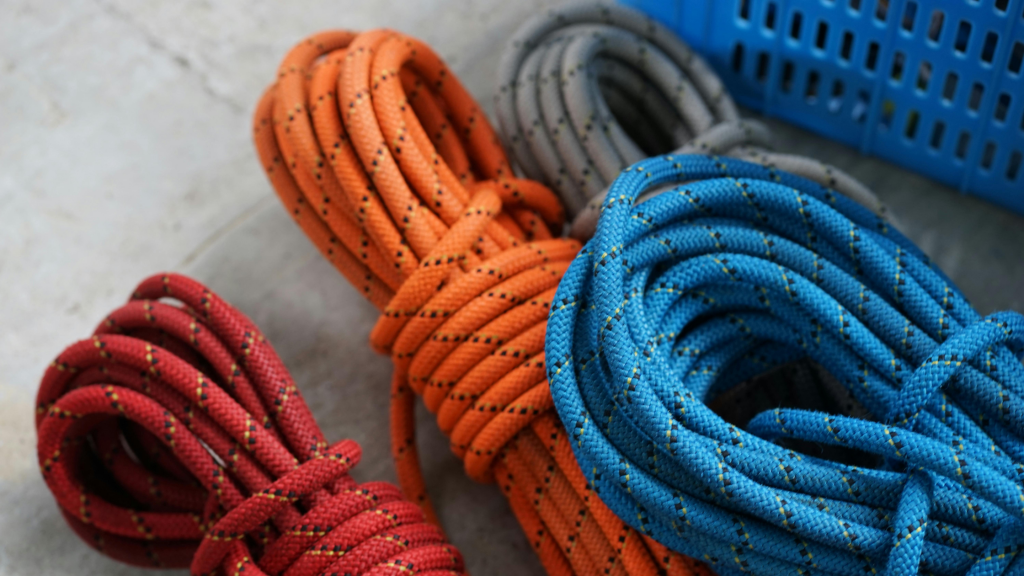
We all meticulously spray every inch of running rigging with copious amounts of fresh water after every boat trip, right? No matter how much you rinse, your lines will pick up salt and dirt through normal use. So even if you are careful during the season, some full-on cleaning may be good for them.
To a point. You need to be careful not to overdo it with lines, because you can damage them with over washing, over soaking, or the application of aggressive cleaners. But winter is a great time to take all the running rigging home and clean it up.
Practical Sailor did a great study on the best way to clean your lines, so take a read through it before you start. They spoke at length with rope manufacturers, then did a lot of surprisingly destructive testing on lengths of old and new lines.
The main takeaways include:
- New or nearly new lines often do not need serious cleaning beyond a quick rinse or soak, and too much aggressive cleaning can damage or weaken them.
- Avoid bleach or any harsh or caustic cleaners. Mild soap or detergent can be used, but dilute heavily for newer lines.
- Avoid any…excessive…applications, like “soak for a week in…” whatever material. Fresh water is best if you want a soak.
- Use the gentlest cycle if you want to use a washing machine.
- Coil or daisy chain your lines, then put them in an old pillowcase and zip-tie the pillowcase closed before putting in the washer.
- Do not put your lines in the dryer; loosely coil and air dry.
- Ensure you whip any splices well before putting them in the washer, and that you whip or melt all cut ends.
There’s a lot more in the do and don’t columns, and I highly recommend you read the entire article before starting this project.
Mind the sails
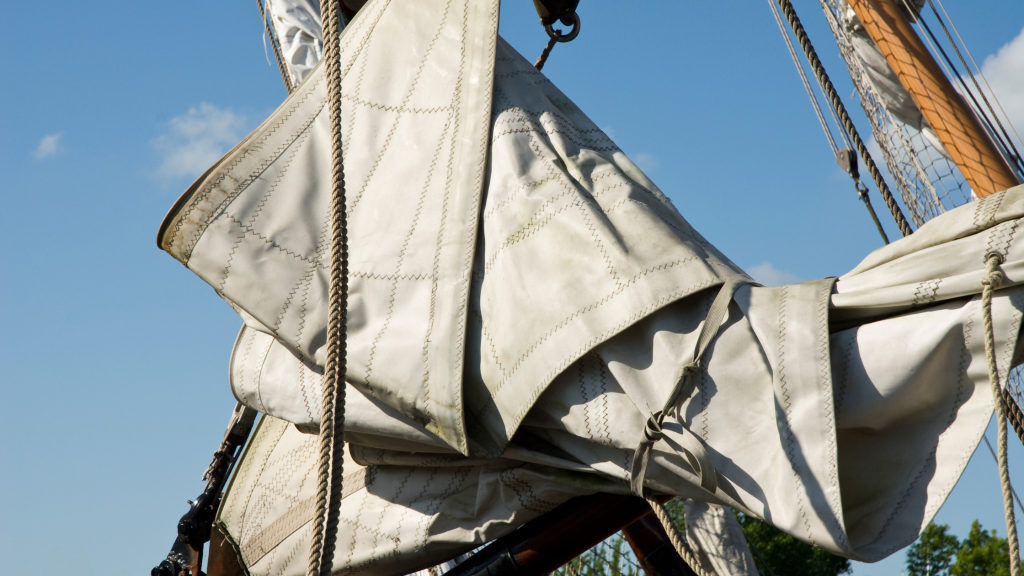
Some people drop their sails off for winter storage with their sailmaker, who will wash them and check them for wear and make any spot repairs. But more just bag their sails and leave them on the boat, or bring them home to tuck into a garage, basement, or attic.
With the sails at home, it’s a good time to check them for wear. In an ideal world, you’d have an enormous expanse of clean and clear floor space for this, like in a finished basement. But not everyone has that, so you need to make do with what you have, even if it means moving a bit of furniture out of the way.
Spread out the sails as well as you can, and inspect them at every corner and edge. Also check the sail’s body, especially at panel seams. You’re looking for wear, chafing, broken threading, and other visible damage. You can also check your telltales and replace them if needed. Chafe spots tell you there’s a problem somewhere on the boat where it’s rubbing, so adding a chafe patch there is the minimum you should do.
If you find any problems, it’s a good time to call the sailmaker if you don’t think it’s something you can fix. A few bucks spent on preventive repair or maintenance can prevent a critical failure next season.
Work on those knots
While it’s not really a “project,” you can always learn new useful knots, or get better at tying the ones you already know. How can you improve a bowline, you might ask? One way is to make sure you can tie it with your eyes closed, behind your back. Or with one hand. Both skills give you options if you’re sailing at night or in conditions where you can’t see the knot you need to tie.
I always like to keep a short length of old line around to practice with. About six feet of soft 3/8″ line lets you practice tying while you’re sitting around the fire or watching TV. When I was new to sailing, that was how I mastered the basic knots I needed to know. And now, if you leave that piece of line around me, well I’ll just start playing with it out of habit…
Empty and declutter (and inventory)
Mildew is the enemy of a winterized boat, and nothing stops mildew better than circulating air. So when you winterize your boat and leave it, it’s a good idea to open your lockers and storage spaces too. And as long as you’re opening spaces, why not empty them out and look at what’s in there?
Most lockers have a bit of junk gear we didn’t know we had in them. Or you might find things that are broken or worn and need repair or replacement. And you might also find things you thought were critical but you now know you’ll never use. If you don’t need it, get rid of it. If you do need it and it’s not in good shape, fix it or replace it.
With the boat covered and nobody using it, it’s okay to make a bit of a mess by pulling things out to dig through it, especially if the end result gets old junky gear off the boat and leaves your lockers fresh and aired out.
And while you’re discarding, cleaning and replacing locker contents, why not take a minute to write a list of everything you’re putting back in there? While that inventory won’t survive next season intact, at least you’ll know where everything started. And more importantly, you’ll know how many workable flares, life jackets, and other bits of gear you have on board before you make that big trip for spring commissioning.

Leave a Reply