Navigation Basics: Aids to Navigation
February 14th, 2024 by team
by B.J. Porter (Contributing Editor)
Looking at a chart can be a confusing thing for the first time, but it’s not necessarily as confusing as the bewildering array of marks, floats, buoys, cans, nuns, beacons, lights and other official aids to navigation you might encounter in your travels. But there is a system, and understanding a few key concepts can clarify a lot of confusion.
“Aids to Navigation” are markers, floats, lights, or other tools used to help all mariners safely negotiate the waterways. Most aids to navigation a near shore, because that’s where most of the dangers lie. They’re placed to keep you off shoals and shallows, and in preferred channels with plenty of water for safe travel. They may also direct and separate traffic, and because they are fixed in place and marked on a chart, they can always assist you in fixing your position and determining exactly where you are.
Government agencies place and maintain the most reliable aids. You may encounter private aids, maintained by local clubs or organizations, but they’re rarely displayed on charts and may be subject to change. And not every government in the world is as standardized, and marks may be different or only supplied by locals who use the waters.
USCG Nautical Chart Number 1
Every single mark used on a chart in U.S. waters (and most around the world) is documented, and you can get a copy for free. USCG Nautical Chart No. 1 is the reference for all charts and aids to navigation, and everyone should have a copy on board. Download it now if you don’t have it, so you can peruse it at your leisure.
For aids to navigation, pay close attention to sections P (Lights) and Q (Buoys and Beacons), though all sections have useful information. And don’t let the sheer number overwhelm you. If you stay out of busy shipping zones, most of your recreational navigation won’t see that many complex options.
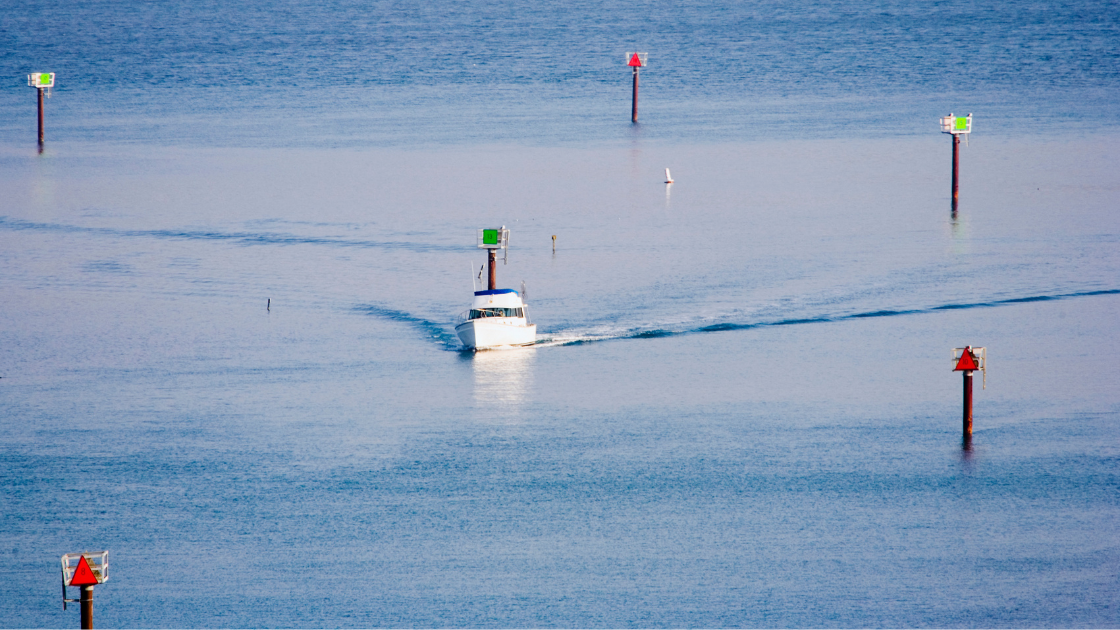
Lateral Marks
In Chart No. 1 and in other places, you’ll see the phrase “lateral marks.” These are marks designed to keep you in the channel, and in navigable water and away from shoals.
They’re usually floating buoys, but they can also be posts, platforms mounted on the seabed, or even groups of pilings. They’re almost always in the water, but they can be on shore.
The important things to note are the shape and color of the mark, as that gives you a clue of its meaning.
Aid Marking Schemes
The IALA-B marking scheme is used in North and South America and a few other places. Everywhere else, IALA-A is used, but it is similar in most respects to one major difference: the reversal of red and green. So “Red, Right, Returning” works really well in the U.S., but in Europe it will not.
In both systems, keep-to-port marks are square on top, and keep-to-starboard marks are conical.
Unless you’re crossing oceans or chartering a boat out of your home country, you’ll do all your navigation under your home scheme.
Colors and Numbers
Every aid to navigation has meaning specific colors, and almost always has a number or group of letters which correspond to its identity on a nautical chart. Correctly identifying the type of aid, along with specifying its exact identity, is crucial for safe navigation.
The meaning of a mark is determined by the direction of travel – the references heading “upstream” from the sea to shore. Many colored marks will also be lit with a light the same color.
IALA-A Colors
Mariners keep green marks to starboard coming in from the sea, and they keep red marks to port.
“Is there any red port left?” is a common memory aid.
IALA-B Colors:
When coming in from the sea, sailors keep red marks to starboard and green marks to port.
Here, “Right, right, returning” applies.
Banded Buoys
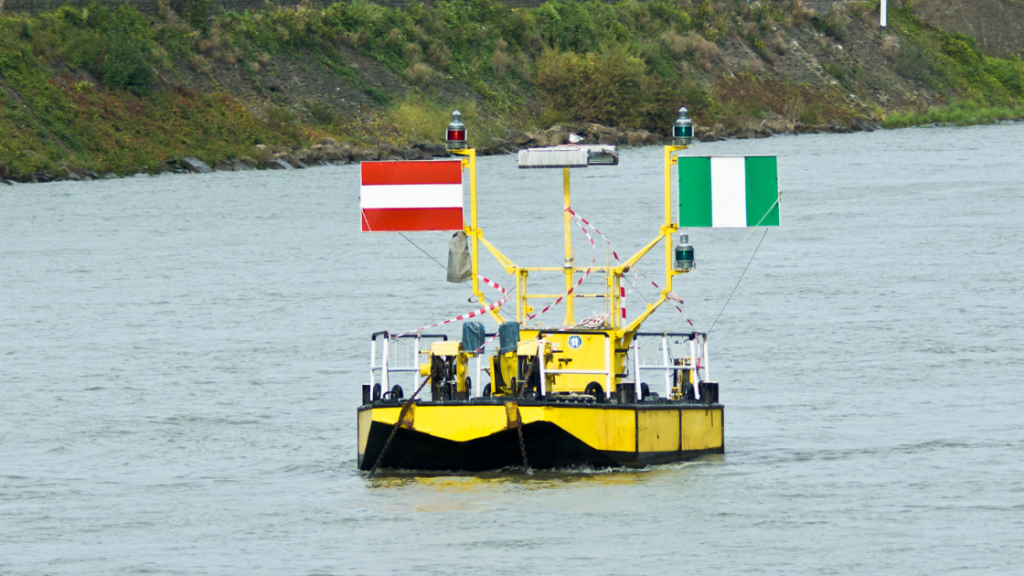
It’s not uncommon to see a buoy in the middle of a channel with color bands on it, like a rand band across a green mark. This is a mid-channel buoy and shows the preferred side to pass the marker. Heading upstream, treat the top or outside mark as the color of the buoy. So a Green/Red/Green mid channel buoy in North America should be taken to port when coming in from the sea.
Shapes
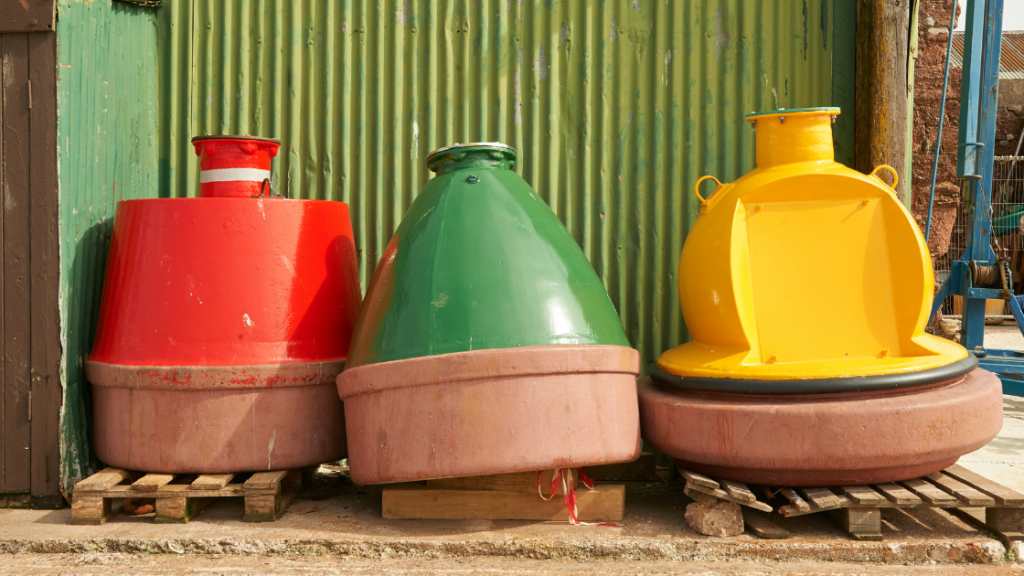
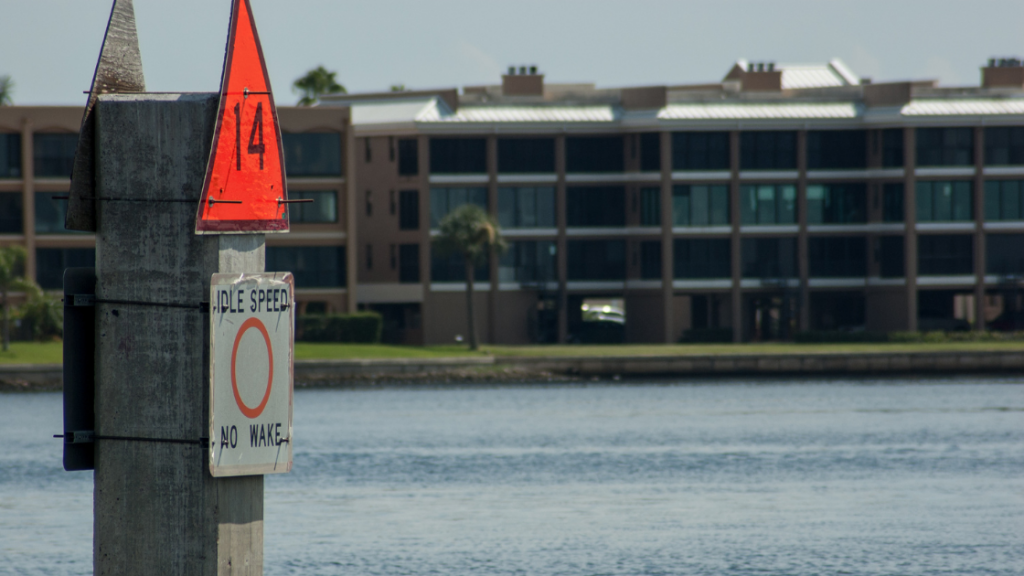
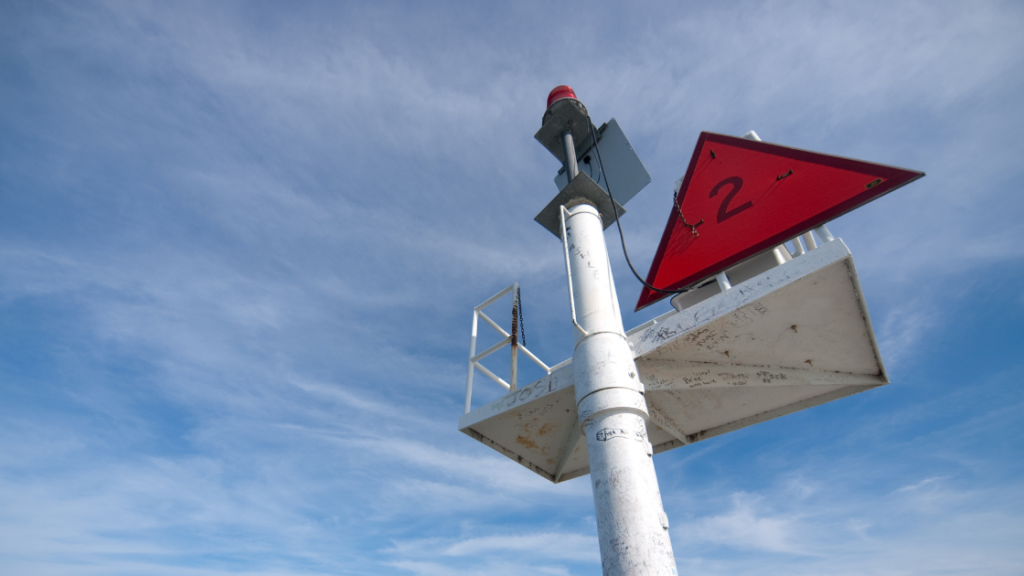
Low visibility conditions like darkness and fog may make colors tricky to pick out, and color blind people can’t often tell red from green. Port marks are always square on the top, and starboard marks are conical or triangular. So floats will be cylinders (port) or have a cone on top of them (starboard).
Post markers will have a square or triangle. This is the same for both IALA schemes.
Numbering and Letters
Marks are usually numbered, but may also have letters. These correspond to the marks on a chart, which makes specific identification precise and easy.
Port marks are odd numbered, and starboard marks are even. In most cases, the numbers increase from the entrance of a harbor or bay. Be aware there may be sub-navigational areas in a larger region where the numbers re-start at one and keep going up.
A good example is Narragansett Bay in Rhode Island, where you’ll find a green mark number 1 down at the entrance of the bay. But further up the bay, you’ll find other G1 marks, and these re-start numbering because you’ve entered a different regional bay, such as Greenwich Bay or Mount Hope Bay, or entered a river such as the Warren River.
So the numbers and letters will be unique to an area around where you’re looking on a chart, but you may find them repeating as you move around the local waters.
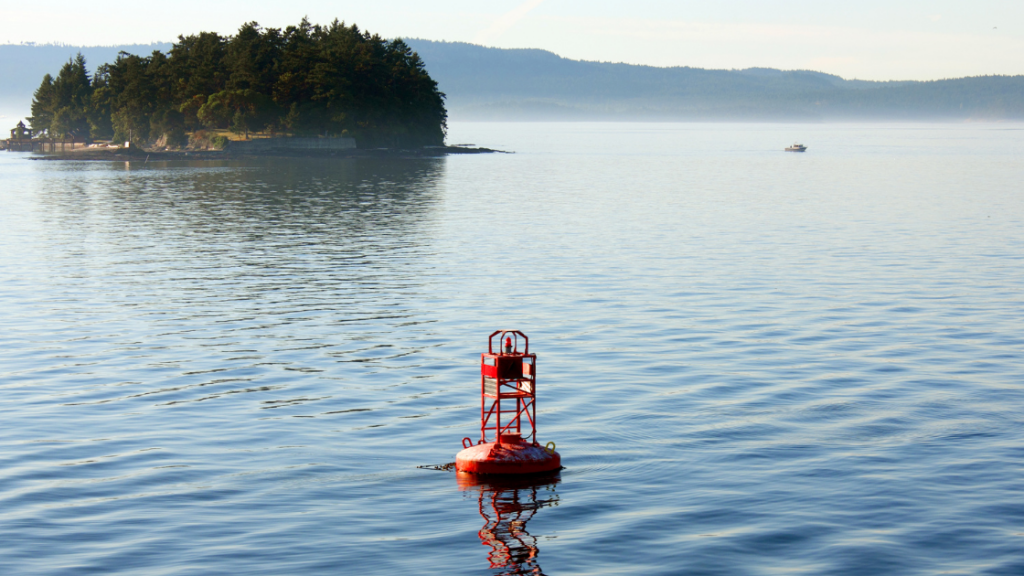
Lights and Sounds
Not all buoys are lit, but in high-traffic areas many are. The lights will match the color of the mark, and will have a distinctive flashing pattern, timing, or sequence. Some are simple on/off lights, cycling for a set number of seconds. But others may have a combination of flashing patterns to make them more distinct, such as a double flash followed by a pause, then a single flash (2 + 1).
For low visibility conditions, many marks have a sound. This may be a bell, whistle, gong or horn and should repeat. Depending on the sound and how it’s made, it may not always be a consistent repetition. In rough conditions, you may hear a bell more frequently as waves rock the buoy, for example.
Next to every lateral mark with a sound of light is a small textual description on your chart. The abbreviations are listed in Chart No. 1, but most of them are pretty clear, like “FL R 2.5s Bell” for “flashing red every 2.5 seconds with a bell.”
Pulling it Together
So how do you use all these aids to navigation to get safely to your destination and back? There are two primary ways – for planning your trip and for navigating on the way using safe water lateral marks to negotiate shallows and channels.
When you plot your course, review any marks you might pass along the way. Make a list, with their descriptions, numbers, sounds, and lights. This gives you a sense of what to look for, and if you know your next waypoint is at the mark “G1” and it’s a flashing green light every 2.5 seconds, you can confirm that mark as you approach it night or day.
As you travel to your destination, identify marks as you pass them from the descriptions in your charts. Positive identification of a mark provides a precise location fix, and the mark itself indicates how to pass it safely and what to watch out for during navigation.
We have only covered the fundamentals of lateral marks used for navigation aids in this article. We’ll get into more advanced types of aids to navigations, like safe water marks, radar beacons, lighthouses, and range markers in future articles in this series.

June 13, 2024 at 10:32 am, Holger Dettmann said:
Vielen Dank für die Info`s.
Ich freue mich, weiter informiert zu werden.
Herzliche Grüße
Holger Dettmann